It's been a while since we posted a progress report for the Atlanta Cosplay Meetup's ongoing project, and with Dragon Con right around the corner, we're nearing the finish line. Let's take a look and see what's been going on the last few months!

Check out our previous progress reports here:
Progress update #1
Progress update #2
Read on to see where we're at now...
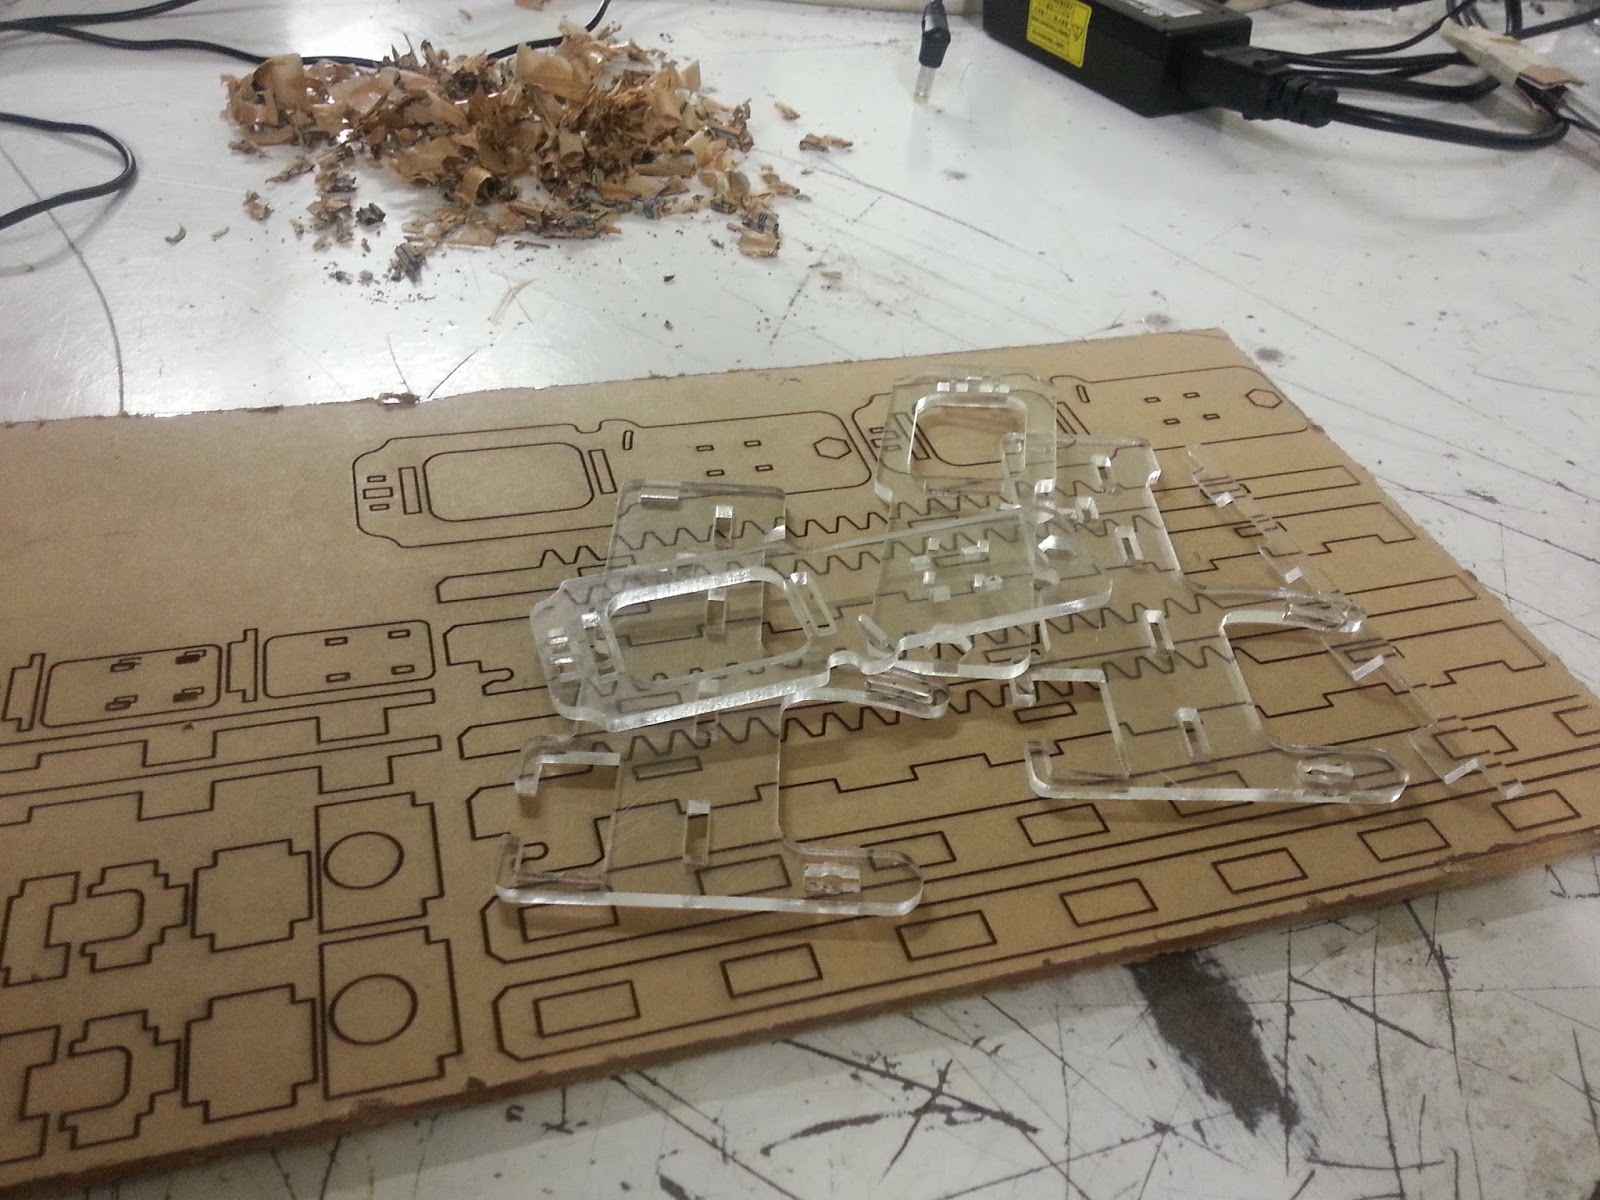
During April and the early part of May, we finished fabrication of the masters for the Colonial Marine armor. Once again, fiberglass resin and bondo body filler was applied to the laser cut cardboard sculptures, which were progressively sanded down using finer and finer grit sandpapers until we were satisfied with the results.


The Pulse Rifle was also finished being mastered and prepped for molding. Normally for something of this size and shape, you would want a more complex molding technique, but time was a major limiting factor for us. Ultimately we went with building a large 2 part block mold out of a silicone rubber called Mold Max 30.


The rest of May was a huge jump in the amount of progress. We were in full production, casting and vacuumforming parts. The bulk of the Colonial Marines armor is vacuumformed, and Adam was hard at work on our vacuumforming machine. Some of the smaller parts were molded and we poured plaster vacuumforming masters (called "bucks"), but the chest and back were backfilled with plaster and used directly.


We assembly lined cutting out and cleaning up the vacuumformed and cast resin bits, cutting off the excess material (called "flashing") to get the part we need. They were then hit with a base coat of olive drab paint and set aside to dry, where we would then hand paint on the camo patterns.


On the Xeno side of things, Valentin put together the final version of the tongue mechanism, and Kevin was hard at work on the skull sculpt. He covered the fiberglass and expanding foam cardboard with a sculpting clay, and was working on sculpting in details.


We were working hard up until the days before MomoCon, but unfortunately there was just too much to be done. There were also some unexpected issues with the Xeno skull sculpt that required us to effectively junk the master.


We did make it to MomoCon though and had a great time at our booth. We brought along the Pulse Rifle mold, and did an impromptu casting demo. Jonathan decided he wanted a golden Pulse Rifle, which we poured and demolded on camera.


After MomoCon we took a couple weeks break - everyone was exhausted and burnt out a bit! - before we got back into production mode. We have all of the vacuumformed parts made, so now it's a matter of casting up the remaining parts for the 11 sets of Marine armor. We're also putting the finishing touches on the paint for the armor sets - over 200 individual pieces!


The next few build days between now and Dragon Con will be fabricating the last few things needed, finalizing our painting, and strapping up armor sets. See you all at the hotel!

Check out our previous progress reports here:
Progress update #1
Progress update #2
Read on to see where we're at now...
During April and the early part of May, we finished fabrication of the masters for the Colonial Marine armor. Once again, fiberglass resin and bondo body filler was applied to the laser cut cardboard sculptures, which were progressively sanded down using finer and finer grit sandpapers until we were satisfied with the results.


The Pulse Rifle was also finished being mastered and prepped for molding. Normally for something of this size and shape, you would want a more complex molding technique, but time was a major limiting factor for us. Ultimately we went with building a large 2 part block mold out of a silicone rubber called Mold Max 30.


The rest of May was a huge jump in the amount of progress. We were in full production, casting and vacuumforming parts. The bulk of the Colonial Marines armor is vacuumformed, and Adam was hard at work on our vacuumforming machine. Some of the smaller parts were molded and we poured plaster vacuumforming masters (called "bucks"), but the chest and back were backfilled with plaster and used directly.


We assembly lined cutting out and cleaning up the vacuumformed and cast resin bits, cutting off the excess material (called "flashing") to get the part we need. They were then hit with a base coat of olive drab paint and set aside to dry, where we would then hand paint on the camo patterns.


On the Xeno side of things, Valentin put together the final version of the tongue mechanism, and Kevin was hard at work on the skull sculpt. He covered the fiberglass and expanding foam cardboard with a sculpting clay, and was working on sculpting in details.

We were working hard up until the days before MomoCon, but unfortunately there was just too much to be done. There were also some unexpected issues with the Xeno skull sculpt that required us to effectively junk the master.


We did make it to MomoCon though and had a great time at our booth. We brought along the Pulse Rifle mold, and did an impromptu casting demo. Jonathan decided he wanted a golden Pulse Rifle, which we poured and demolded on camera.


After MomoCon we took a couple weeks break - everyone was exhausted and burnt out a bit! - before we got back into production mode. We have all of the vacuumformed parts made, so now it's a matter of casting up the remaining parts for the 11 sets of Marine armor. We're also putting the finishing touches on the paint for the armor sets - over 200 individual pieces!


The next few build days between now and Dragon Con will be fabricating the last few things needed, finalizing our painting, and strapping up armor sets. See you all at the hotel!
Comments
Post a Comment